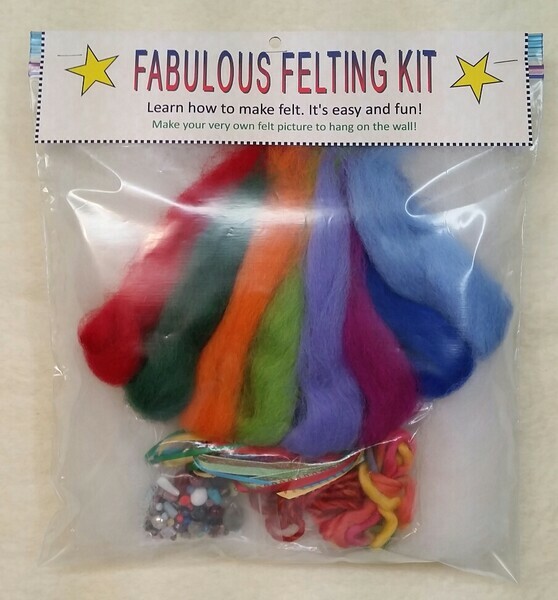
How to Make a Felt Picture
**Use these instructions to make a felt picture with the Fabulous Felting Kit or the Wool Refill Pack**
INSTRUCTIONS:
-
Pull out the bubble wrap and wool. Leave the white wool on top of the bubblewrap. This wool is the background for your picture. Save the big ziploc bag, the beads and ribbon trim for later.
-
Decorate the white wool with the coloured wool and yarn. Use your imagination to create a wonderful picture. If the wool fibres are too long, fold them under or roll them up. The more wool you use, the darker the colour will be after felting. If you lay the wool on thinly, the colour will be lighter. Use only the amount of wool you want and store the rest in the small plastic bag for another felting time. Keep the bag of dry wool AWAY from the wet and water. (Wool will get yucky if left wet.)
-
Slide the wool covered bubble wrap back into the big ziploc bag. Be careful not to disturb your picture. Make sure that everything is laying where you want it.
-
Mix 3/4c. hot water with one small squirt of liquid dish soap. Don't use too much soap.
-
Spread out an old towel on the counter (to catch any drips) and put the bag flat on top.Then drizzle the soapy water into the bag.Press ALL the air out and zip the bag closed tightly. Turn the bag face down on the towel to get all the wool wet.
-
Push the water all around and make sure that all the wool gets wet. If it isn't all wet, add a little more hot water. Keep the bag flat. Turn the bag right side up.
-
"Smoosh and squoosh" the wool and water with your fingers. Pretend that you are scratching the bag, back and forth. Don't work TOO hard at this stage. Use your palms to rub back and forth and around in gentle circles. Turn the bag over and work from the back, too. Work the bag until the wool holds together, about 5-10 minutes. If the water gets cold, put the bag in the microwave, OPEN the bag carefully to let any steam out and heat the wool and water for about 20 seconds on High. Then close the bag tightly again and keep rubbing. This is the FELTING STAGE.
-
When the wool holds together like a piece of material and is not a bunch of loose fibres any more, take it out of the bag and squeeze out all the water. Dip the felt into more hot, soapy water and start rubbing the piece between your wet, soapy hands. Work all the way around the piece, rubbing the edges as much as the middle. (keep adding soapy water to your hands) NOTE: Felt shrinks in the direction you rub it, so remember to change where you are rubbing to keep it square or to change the shape. Rub for about 10 minutes or until the piece starts to shrink and get firmer.
-
Rinse out the piece in hot water. Squeeze out all the excess water. Fold the felt into a ball and THROW it onto a towel on the floor. (This will shock the fibres, making them tighten and shrink.) Keep throwing until the piece starts to get little bumps and dimples on the surface. This is the FULLING stage.
-
When you are happy with the size and look of the piece, rinse it well in COOL, clear water with a little splash of vinegar added. (This gets rid of any soap still in the wool and restores the wool's pH). Do a final rinse in PLAIN water to remove any vinegar.
-
Squeeze out any excess water, then roll the felt in a clean, dry towel and squeeze again. Lay the felt flat to dry.
-
Once your piece of felt is dry, you can decorate it with stitching, beads, buttons, ribbon, trims, bells, etc. Glue them on with craft glue or stitch with thread and a needle. Add a matching cord, hang your creation and enjoy.
CONGRATULATIONS – you have made a felt picture!
P.S. You can rinse off the bubblewrap and ziploc bag, dry them and save them for your next felting adventure!
©Monica Bennett2008